This blog will describe the process of making chocolate pig irons.
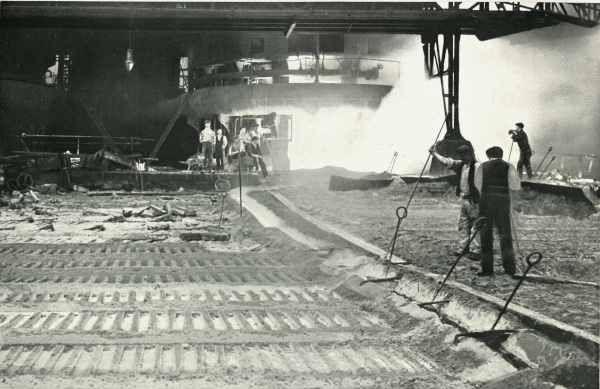
Pig iron is the raw, impure iron smelted in an iron roasting kiln. It was traditionally formed into ingots or ‘pigs’ suitable for handling, storage, transportation and remelting by pouring the raw molten pig iron into moulds created by pressing a form into sand. It gets the name pig iron from the resemblance of the ingots to piglets suckling from a sow. The pigs can be about a metre in length and weigh up to 50 kg, depending on the size.
Pouring Pig Iron. Photo Copyright Kirkleatham Museum.
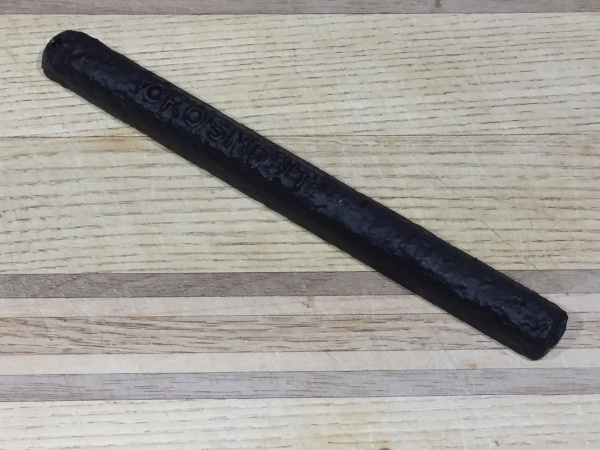
One of the artifacts from the ironstone mining industry in the North York Moors is what is thought to be the last remaining Grosmont pig iron. It is a heavy mass of raw pig iron with the rusted texture of the original sand mould still clearly visible on it. Note that on this original Grosmont pig, the letter 'G' appears to be a 'C', possibly because the horizontal line of the 'G' was too fine a detail to capture in the crude sand mould.
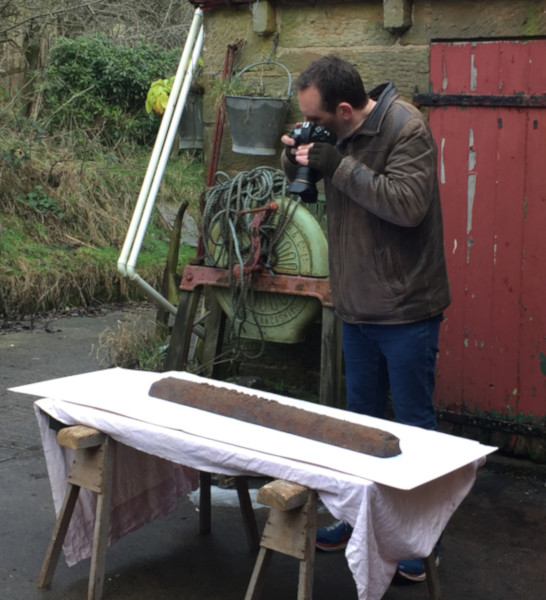
Tom Mutton, the Land of Iron Programme Manager created a digital model of the pig with photogrammetry. Photogrammetry is the process whereby many digital photographs taken from all around an object are fed into photogrammetry software that converts the photos into a digital model that can be loaded in computer aided design (CAD) software or displayed on web pages.
Tom Mutton Photographing the Pig Iron.
Here, below is the 3D photogrammetry model of the original Grosmont pig iron from the Land of Iron Sketchfab page.
Tom is interested to make and sell chocolate pig irons moulded from the 3D model of the pig iron. So, we rescaled the digital model to 15 cm and had it 3D printed at 0.1mm resolution. We then made a food-grade silicone mould from the 3D printed pig and have produced 15 cm long replica chocolates from the original pig iron. Here below are details of how that was done.
3D Printed Pig Iron
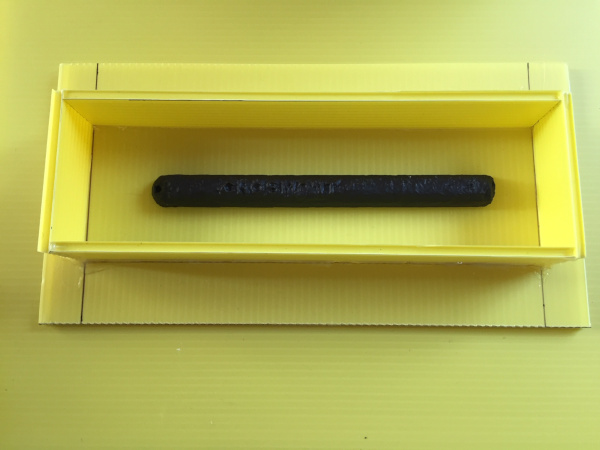
To make the silicone mould, a box was made from 3mm thick Coroplast corrugated plastic sheet. The Coroplast was cut with a sharp knife to make a rectangular box approximately 3 cm larger in each dimension than the 3D printed pig iron. The sides of the box were glued with hot glue to a base of a larger piece of the Coroplast. Once the hot glue had cooled, the flatter base of the 3D printed pig iron was glued to the base of the box with a very thin coating of wood glue which was allowed to dry overnight. The inside of the Coroplast box and the surface of the pig iron were sprayed with silicone mould release. This prevents the silicone from sticking to the inside of the box and to the 3D printed pig iron.
The silicone comes as a kit with 550g of silicone, but the volume is not provided. I needed to make sure that I would have enough silicone, so I made sure to calculate the volume of the mould box to be less than the volume of silicone I had. This entailed using the specific gravity of silicone to calculate the volume I had available. I adjusted the dimensions of the box to ensure I had enough silicone to fill it. My calculations suggested I would use just about all the silicone I had.
3D Printed Pig in Coroplast Corrugated Plastic Sheet Box
The food-grade silicone comes as two components that get mixed at a ratio of 10 units of silicone to 1 unit of accelerant. The silicone came with a plastic spatula for mixing. The suggestion is to mix the silicone with a mixer made from inert material because residues in some woods can prevent the silicone from curing, never mind leaving residue in the silicone that is intended for food production. I found the supplied spatula to be woefully inadequate for mixing the quantity of silicone needed for this mould. This becomes important because it is necessary to mix the silicone and accelerant, which are different colours, very well to make sure there is no streaking and they are mixed completely. It is necessary to scrape the sides and bottom of the container they are being mixed in. The spatula was too short and not strong enough to do a good job of the mixing, but fortunately the spatula did not break and the silicone ultimately cured completely.
Here below is a video of pouring the silicone. The video is speeded up 5x through most of the pouring, except for at the start and at the end.
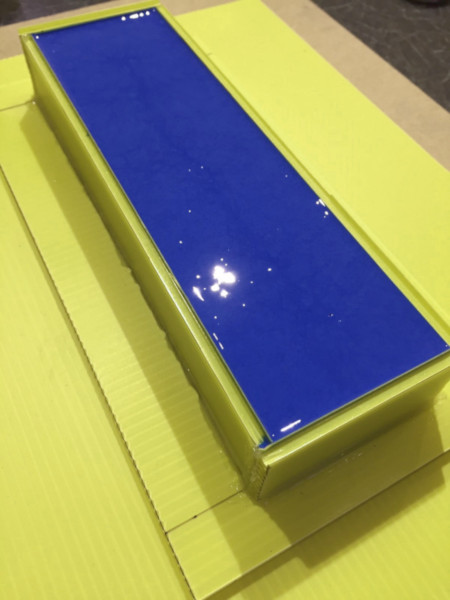
Box Filled with Food-Grade Silicone
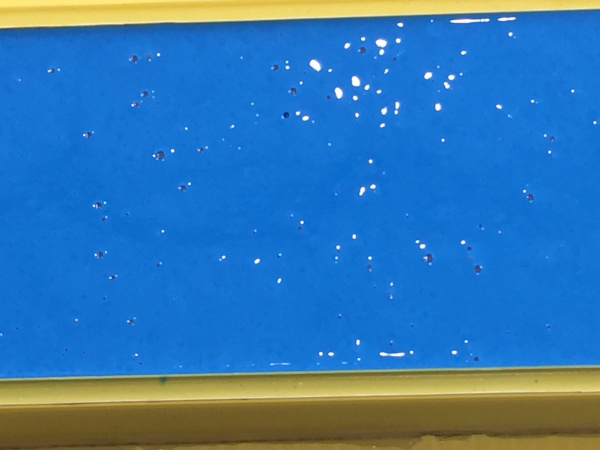
Immediately after the silicone had been poured, there were many small air bubbles in the silicone. Fortunately, the silicone required 16 hours to cure, so because it is a slow curing silicone there was plenty of time for the air bubbles to escape. They could still be observed rising to the surface of the silicone four hours after pouring. There are air bubbles that are most likely created when pouring the liquid silicone. Placing the mould in a vacuum might have removed them faster, but that would require rather a large vacuum chamber.
Air Bubbles in Silicone
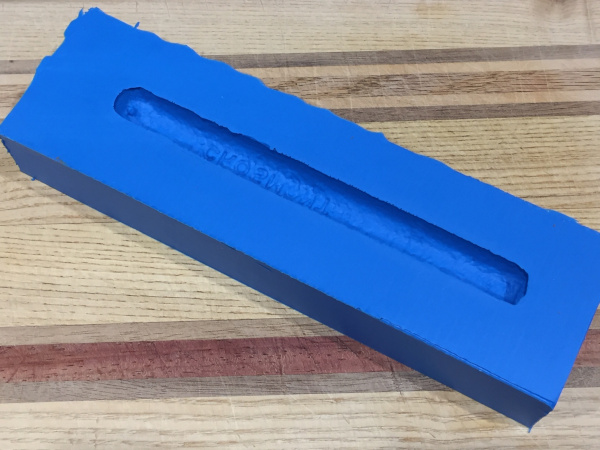
The silicone was still tacky to the touch at about 16 hours after pouring it, so I left it for a further 12 hours. By then is was no longer tacky and had set well. It was completely bubble free by the time it was set. This is a distinct advantage of using a slow curing silicone.
Released Silicone Mould
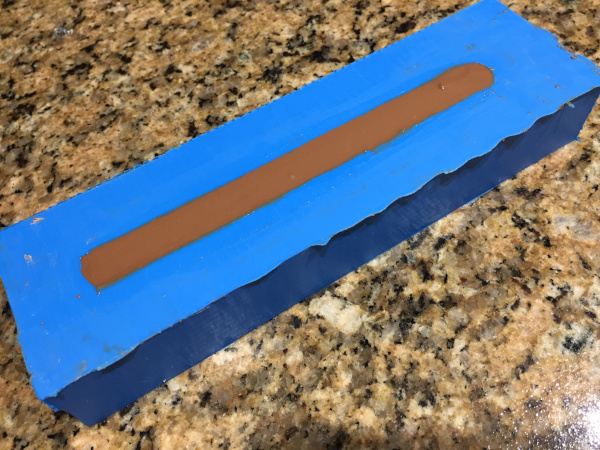
The chocolate I bought is for making moulded chocolate and it comes as a bag of chips. These are readily melted in a glass bowl in a pot of boiling water after a minute or two. Once melted, it is easily poured into the mould and the excess is carefully scraped away with the back of a knife to remove any chocolate that is beyond the boundaries of the cavity.
Silicone Mould Filled with Chocolate
The silicone mould is relatively flexible. This facilitates removal of the chocolates from the mould, but also means that it is relatively easy to break the chocolate pigs if the mould is bent in the middle. I placed the mould in the refrigerator to speed up the chocolate production process and it helps to let the mould come to room temperature before removing the chocolates. Gradually freeing the chocolate pig from the sides with the base of the mould on a flat surface allows the pigs to be released without breaking.
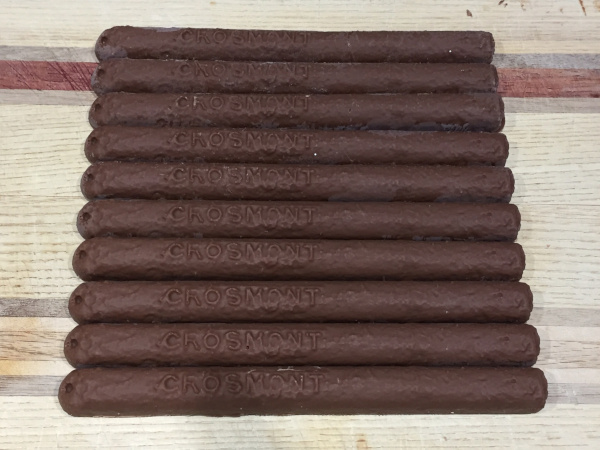
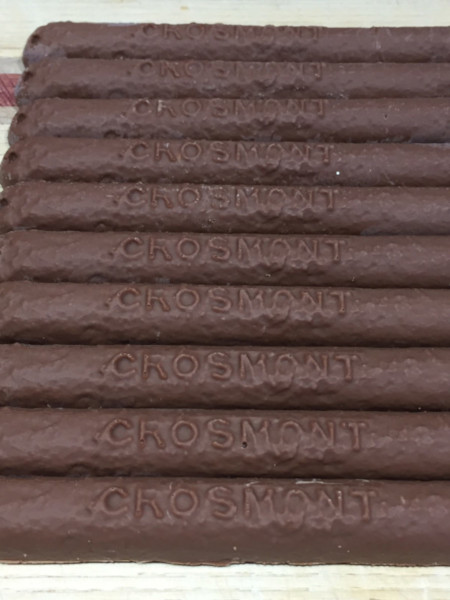
Chocolate Pig Irons
Grosmont Chocolate Pig Irons
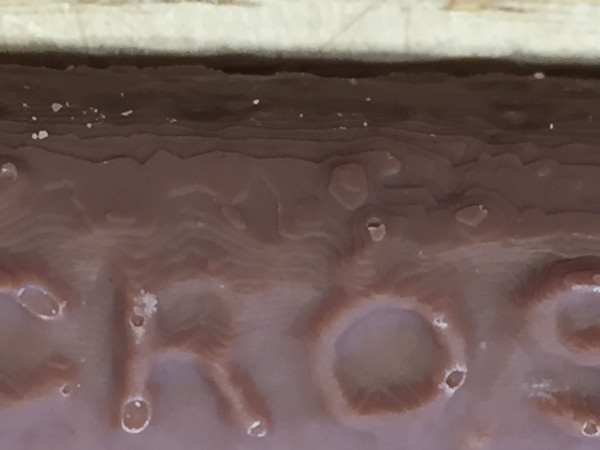
The silicone mould does not have any air bubble cavities, however, the chocolate poured into the mould does often trap air bubbles and so the released chocolate pigs do tend to have some air bubble cavities on them. The silicone moulding does capture the fine detail from the 3D printed pig iron quite well. The 3D printed pig iron was printed at a resolution of 0.1 mm and these 3D printed layers can be clearly seen when viewing the moulded chocolates at high magnification.
Detail of Chocolate Pig Iron
This has been an interesting project, not only for the process of doing it, but also from the realization of making miniature replica chocolate pig irons from a large, heavy, rusted original pig iron from the Grosmont ironstone roasting kilns dating back to the late 1800's, using modern digital techniques of photogrammetry and 3D printing. Despite the gaping chasms in time and technology between then and now, there is a striking similarity in how the original pig irons were created by pouring molten iron into moulds in the sand and how the chocolate pigs are created by pouring melted chocolate into the silicone mould. The process of producing a miniature chocolate pig iron from the original has been surprisingly satisfying. We have been in discussions with commercial chocolate mould making companies and a local chocolatier to possibly produce the chocolate pig irons to be sold in the future.